
Installation Guides
 InterioMasters
Guess what! The installation process is surprisingly simple.
Faux-Leather Wall Panels
Steps to Install
- Before we get started, make sure to clean the wall surface and get rid of any loose/falling paint.
- Measure the area, decide on a layout and mark the wall according to the dimensions.
- Using the regular hot glue gun, Power Grab or Hot Glue works great. Be sure to apply enough glue so that the panel assures proper bond with the wall.

The Benefits of Faux-Leather Wall Panels:
Reduce Echoing
Noise Reduction/Dampening
Light-Weight
Aesthetically Appealing
Easy to Install
Makes the Perfect Feature/Accent Wall
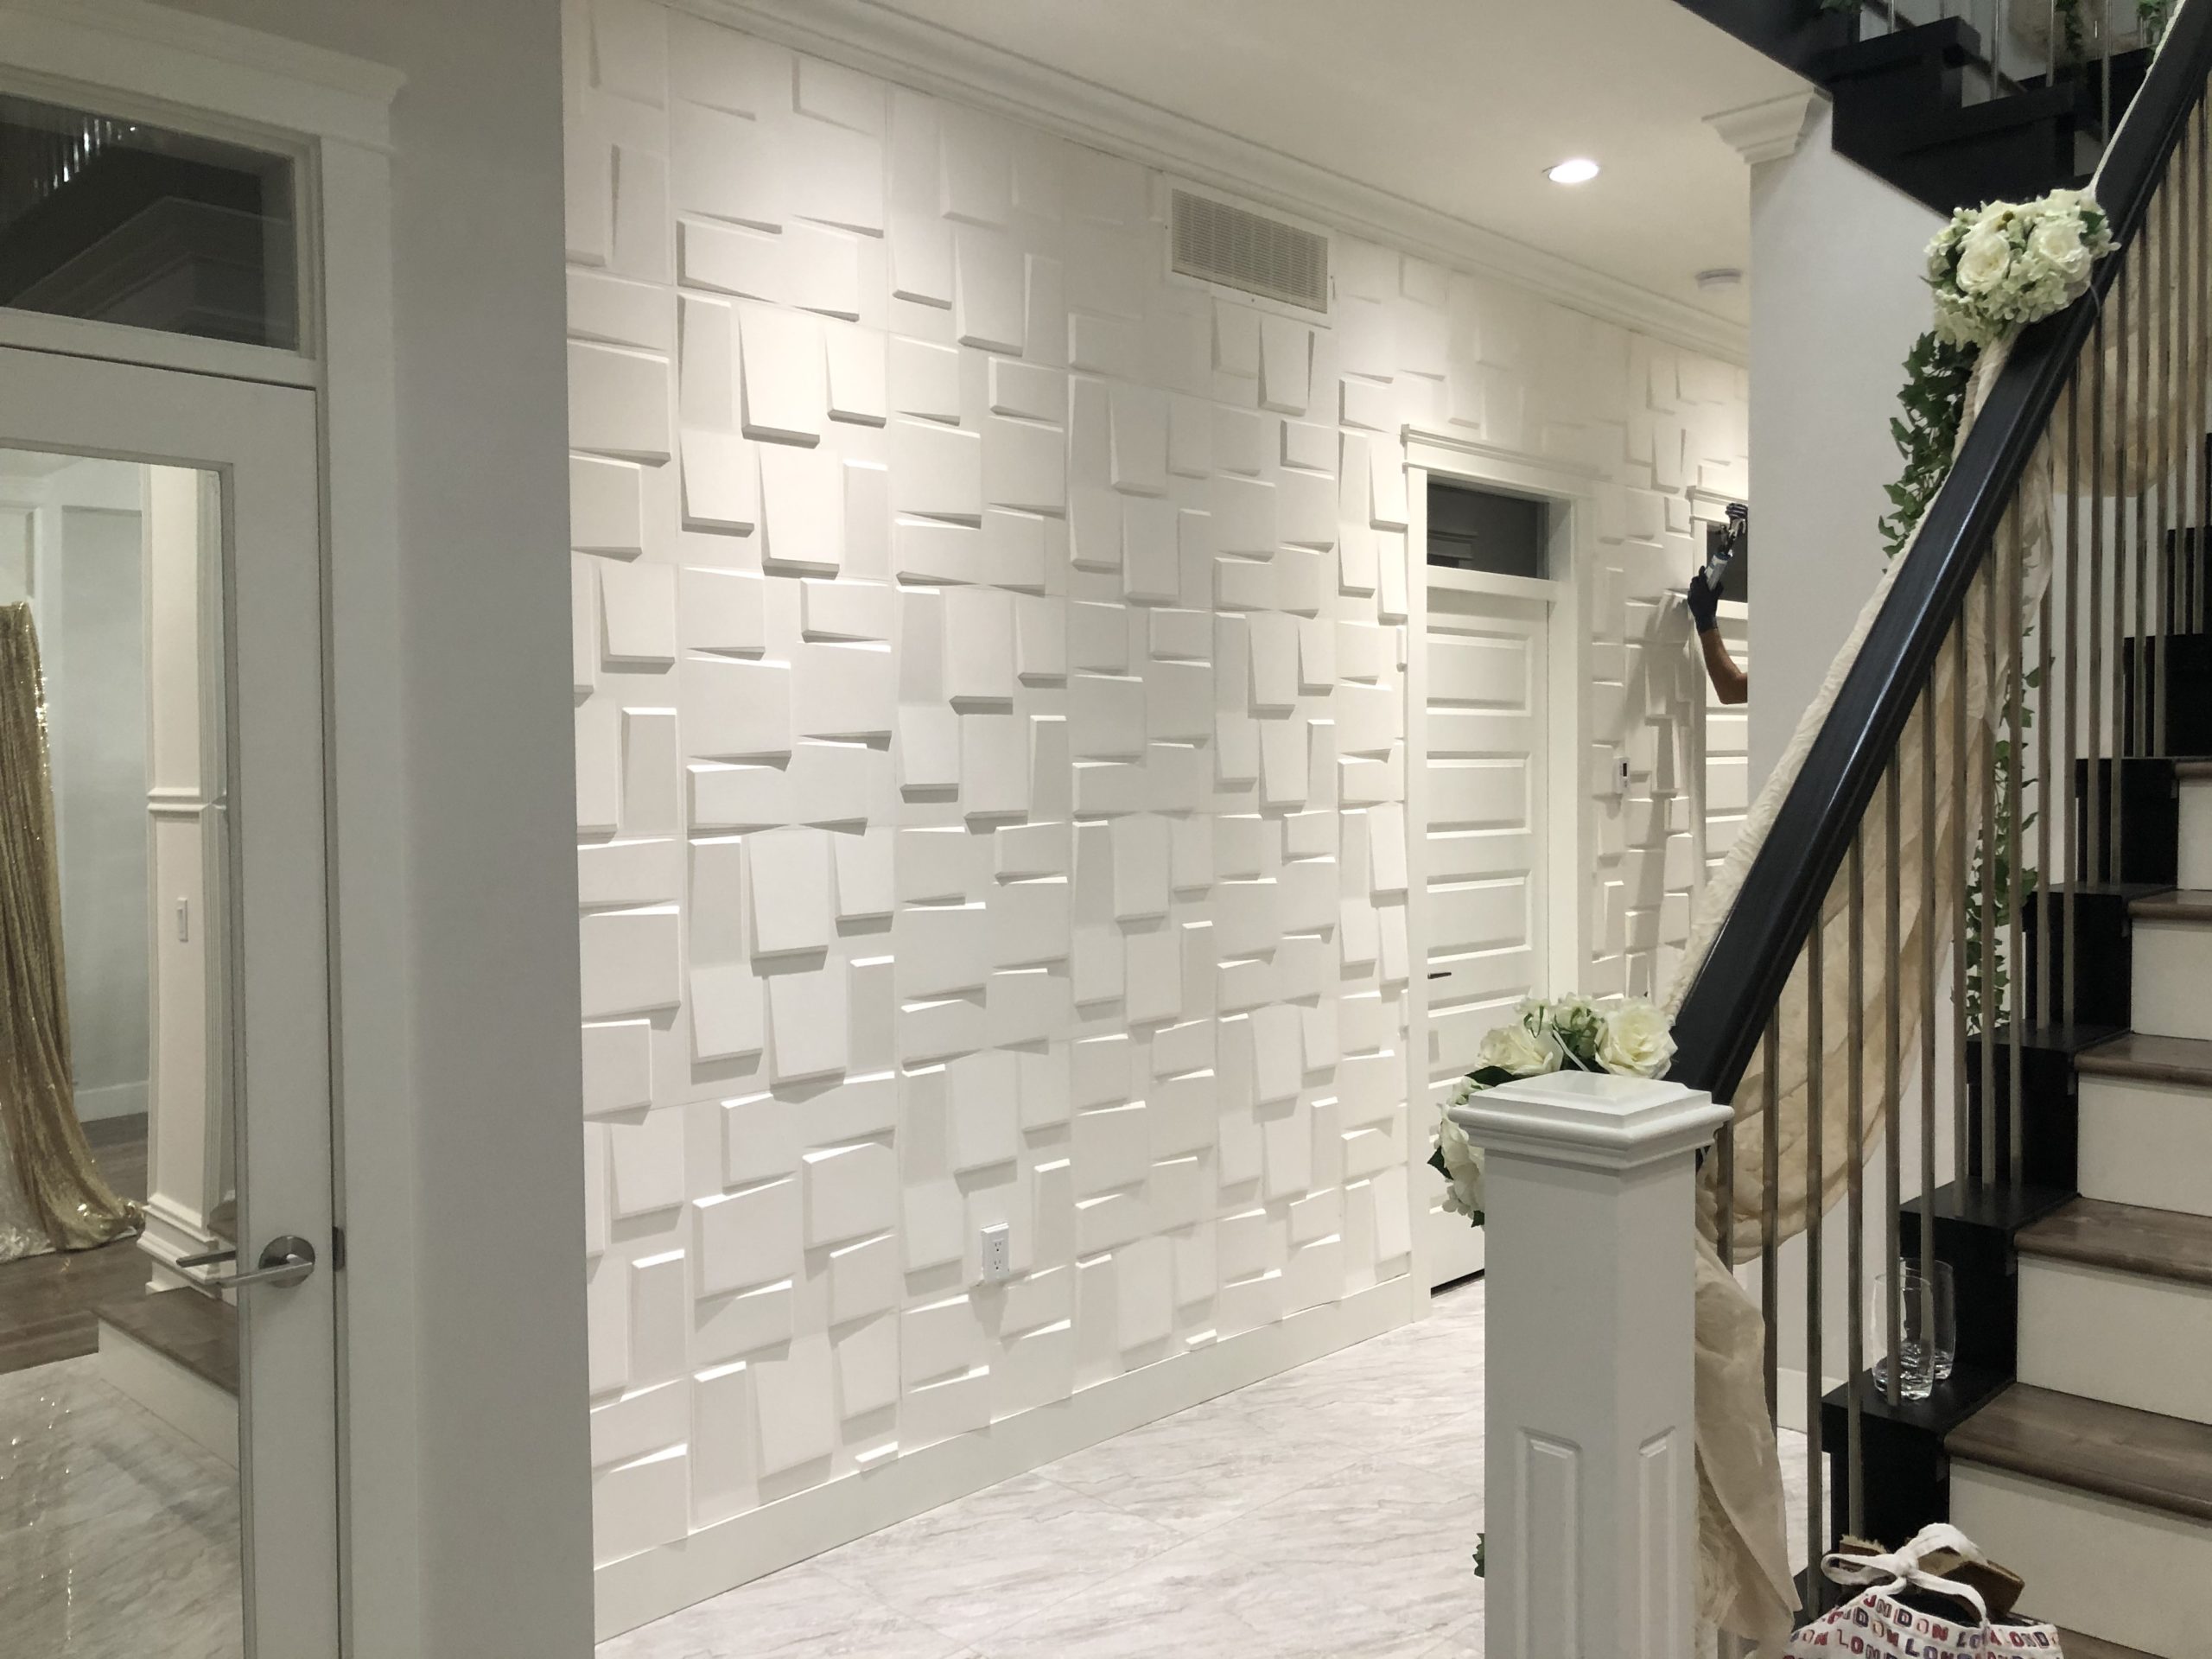
Plant Fiber Wall Panels
Things & Tools need to uplift your walls with the Bamboo Wall Panels:
- Measuring tape
- Utility Knife or Handsaw or Jig Saw
- Adhesive (LePage Contact Cement )
- Paint Brush
- Wood Filler/Paintable Caulking
- Pencil
- Level
- 350 + grit sandpaper
- Seam Roller
- Putty Knife
- Tile Spacers (optional)
- Primer (Latex/Oil-based)
- Paint (of your choice)
- Paint Brush or Roller or Spray
Steps to Install
- Before we get started, make sure to clean the wall surface and get rid of any loose/falling paint.
- Use the measuring tape to measure the area of the wall or ceiling, decide on a layout and mark the wall according to the dimensions.
- Your starting point may be in the center of your wall, but it also may be in the corner, it is significant to find a great starting point and this can depend on the project you are working on.
- Apply a thin coat of adhesive with the paint brush along all the edges and the middle of the back of the panel and also on the wall. Install the panel on the wall and press the panel equally with your fingertips to ensure they bind to the wall; you may also use a seam roller if needed.
- Install the panels by putting them next to each other, however you may also use tile spacers if you prefer the final look with seams.
- If the size of the wall doesn’t match the panels, cut the panels by the utility knife or handsaw or jig saw, as needed.
- Once the panels are installed on the wall, prime the panels with a coat of Latex-based or Oil-based primer.
- If you plan to install the panels by putting them together then, use the Wood Filler or paintable caulking to fill the gaps, if needed and clean the extras as you apply, use a putty knife if required to even out the caulking.
- Use the 350 + grit sandpaper lightly, if needed to get rid of any excess caulking. – Once primed, paint the panels with the brush, roller or by spraying in a color and finish that personifies You!